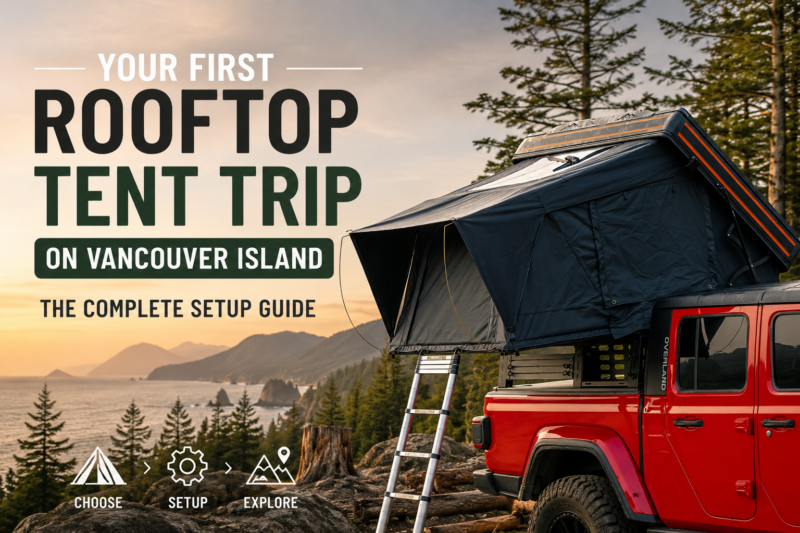
Getting into overlanding has a way of going sideways at the wallet. You watch a few build videos, fall down the gear rabbit hole, and before you have spent a single night out you have a cart full of accessories, a lighter bank account, and no clear idea whether you bought the right things in the right order.
The truth most first-timers learn the expensive way is that the order you buy in matters more than the brands you buy. Get the sequence right and each purchase builds on the last, and you are camping comfortably for a reasonable spend. Get it wrong and you end up with gear that does not fit the vehicle, duplicates you did not need, and a setup that still cannot get you a good night’s sleep.
With the BC summer season opening up this month, here is the order to build your first setup, what to prioritize, and what can wait.
Step Zero: Start With the Vehicle You Already Own
The most common beginner mistake is thinking you need a different vehicle before you can start. You almost certainly do not.
People search whether they can overland with a 2WD, and the honest answer is that for the kind of overlanding most Canadians actually do, gravel forest service roads, established backroads, and pullout camping, a capable stock SUV or pickup gets you to the vast majority of good spots. You do not need a built rig to start. You need to get out, learn what you actually want, and let real experience tell you what to upgrade. Buying a new truck as step one is how people spend the most money before learning anything.
So step zero costs nothing: take stock of what you drive, know its rough payload and roof capacity, and build around that. Capability upgrades, if you ever need them, come last, not first.
The Build Order That Saves You Money
Here is the sequence, ordered by what actually keeps you safe and comfortable versus what just looks good in the driveway. Work down the list, and stop spending wherever your budget runs out, because everything below the line still leaves you with a working setup.
- Safety and recovery essentials
- Sleep system (rooftop tent or equivalent)
- Shelter and shade (awning)
- Water storage and food management
- Power solutions and refrigeration
- Storage systems and accessories
Why Each Step Lands Where It Does
First: Safety and Recovery
It is not glamorous, which is exactly why beginners skip it and regret it. Before you go anywhere off pavement, you want the basics to handle a stuck vehicle and a minor emergency: traction boards, basic recovery gear you know how to use, a quality tire repair kit and a way to air back up, a first aid kit, and communication for areas with no cell signal.
On a BC forest service road, being self-sufficient is not optional. This is the cheapest insurance in the whole build.
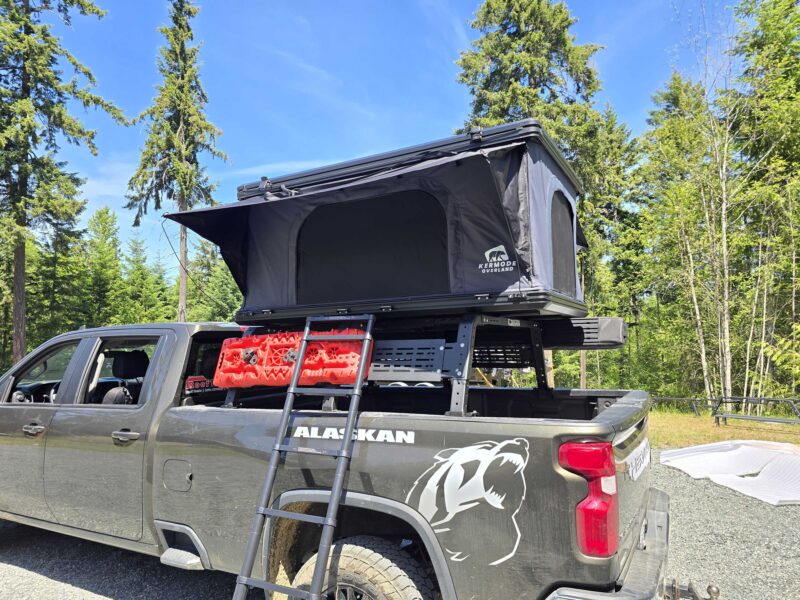
Second: Where You Sleep
This is the heart of the setup and where most of your first real money should go. Sleep badly and the whole trip sours, no matter how good the rest of the gear is.
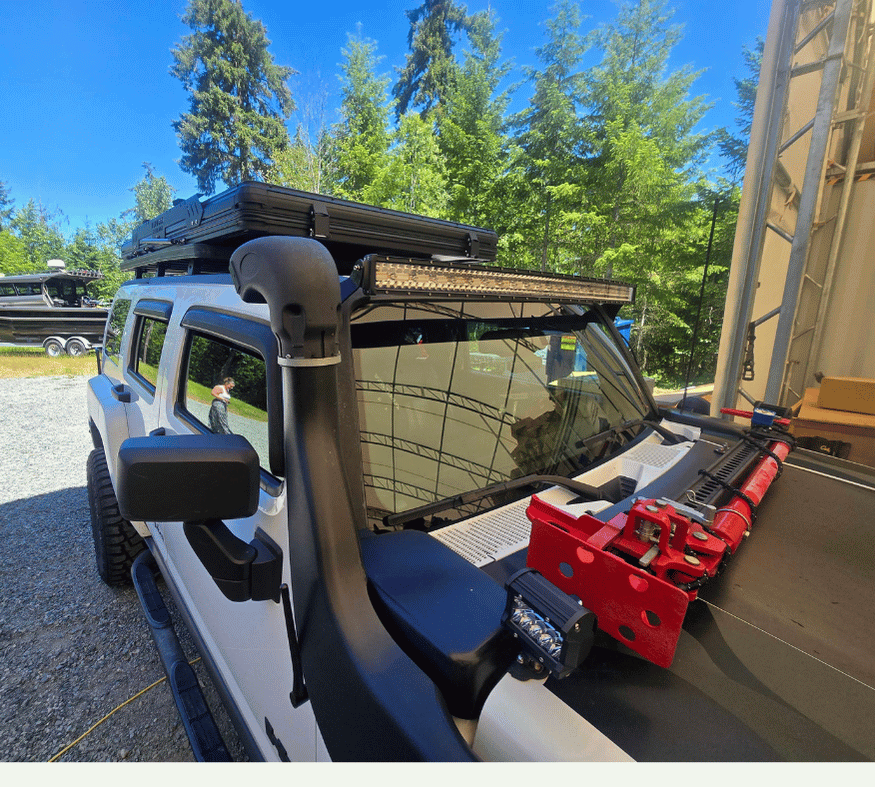
For most people getting into this, a rooftop tent is the purchase that transforms the experience because it gets you off the wet, uneven ground and lets you sleep almost anywhere you can park. It is the anchor that the rest of the build hangs off.
If you are weighing the styles, our comparison of hard shell versus soft shell rooftop tents walks through which suits BC conditions.
Third: Shelter and Shade
Once you have somewhere to sleep, you want somewhere to live during the day.
An awning turns a parking spot into a basecamp, giving you cover from both the summer sun and the rain that BC delivers without warning. It pairs naturally with a rooftop tent and is the logical next purchase, not a luxury, once the sleep system is sorted.
Fourth: Water and Food
Staying out more than one night means carrying water and keeping food.
How much water you need is a genuine beginner question, and the rule of thumb is more than you think, planning for drinking, cooking, and cleaning across the days you will be out.
Reliable water storage and a way to keep food organized and cool extend your range from an overnighter to a real weekend without a resupply run.
Fifth: Power and a Fridge
This is where the build crosses from essential to genuinely comfortable.
A portable power station and a 12V fridge change how you eat and how long you can stay out, but they are an upgrade, not a starting point. Plenty of great first seasons happen with a cooler and a power bank.
Add this when the essentials are handled and you know you are sticking with the hobby.
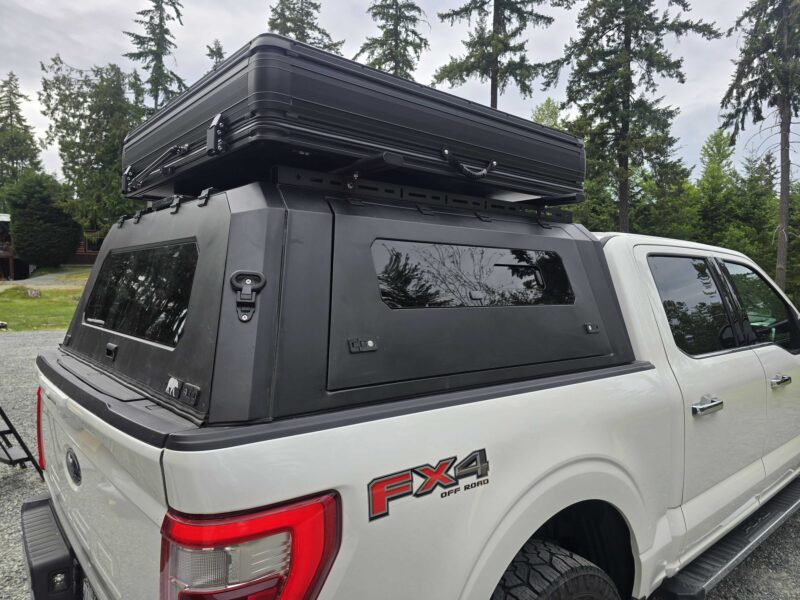
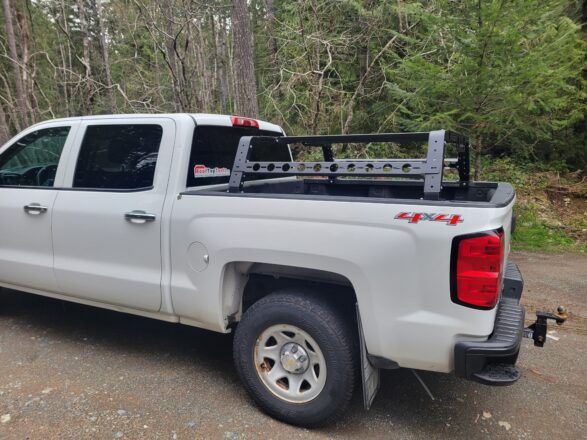
Sixth: Storage and the Fun Stuff
Drawer systems, roof racks full of accessories, lighting, and all the refinements come last, and they should.
This is the gear you buy once you have been out enough to know your own habits, what you actually reach for, what you never use, and how you like your space organized.
Buy this first and you are guessing. Buy it last and you are solving real problems you have actually run into.
A Word on Cost
Overlanding has a reputation for being expensive, and it can be if you buy everything at once and at the top of every category.
It does not have to be.
The whole point of the order above is that you can stop at any step and still have a functional, enjoyable setup. Someone with safety gear, a rooftop tent, and an awning is genuinely set up to camp, and that is a fraction of what a full built rig costs.
Spread the build across a season or two, buy the essentials well and the extras as you go, and the cost becomes manageable. The people who find overlanding painfully expensive are usually the ones who bought in the wrong order and replaced half of it within a year.
Common Questions From First-Time Buyers
What do I actually need to start overlanding?
Less than the internet suggests. A capable vehicle you already own, basic safety and recovery gear, a reliable sleep system, and a way to carry water will get you camping. Everything else is comfort and refinement you add over time.
Can I overland with a 2WD?
For the gravel roads, backroads, and pullout camping that make up most Canadian overlanding, a capable 2WD or stock SUV handles the majority of good spots. You do not need a built 4WD rig to start. Get out first, then decide whether you ever actually need more capability.
How much does it cost to build a first setup?
It varies widely with how far up each category you go, but the build order lets you control it. You can be properly set up to camp for far less than a full rig by stopping after the safety gear, sleep system, and awning, then adding the rest over time.
What should I buy first?
Safety and recovery basics, then your sleep system. Those two keep you safe and rested, which is the foundation everything else builds on. The gear that looks best in photos almost always belongs last in the order.
Why is overlanding so expensive?
Usually because people buy everything at once, at the top of every category, and replace what does not fit. Built incrementally and in the right order, it is far more affordable, and you end up with gear that actually suits how you camp.
Is a rooftop tent worth it for a beginner?
For most people, yes. It is the single purchase that most improves the experience, getting you off wet, uneven ground and letting you sleep almost anywhere. It is the anchor of the setup, which is why it sits near the top of the order.
Start the Season Set Up Right
Building a first overland setup is not about having the most gear. It is about buying the right things in the right order so that every dollar moves you closer to actually getting out.
Nail the sequence: safety, sleep, shelter, then the rest, and you head into the BC summer with a setup that works instead of a pile of parts you are still figuring out.
If you are putting together your first setup this month, Kermode Overland can help you start in the right place, with rooftop tents, awnings, and the core gear that anchors a build. Browse the lineup or reach out at kermodeoverland.com and get the foundation sorted before the long weekends fill up.