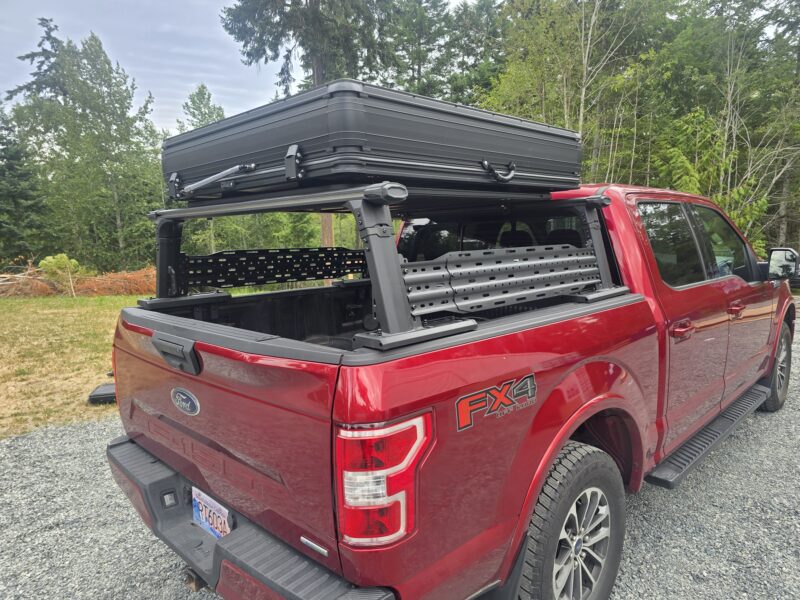

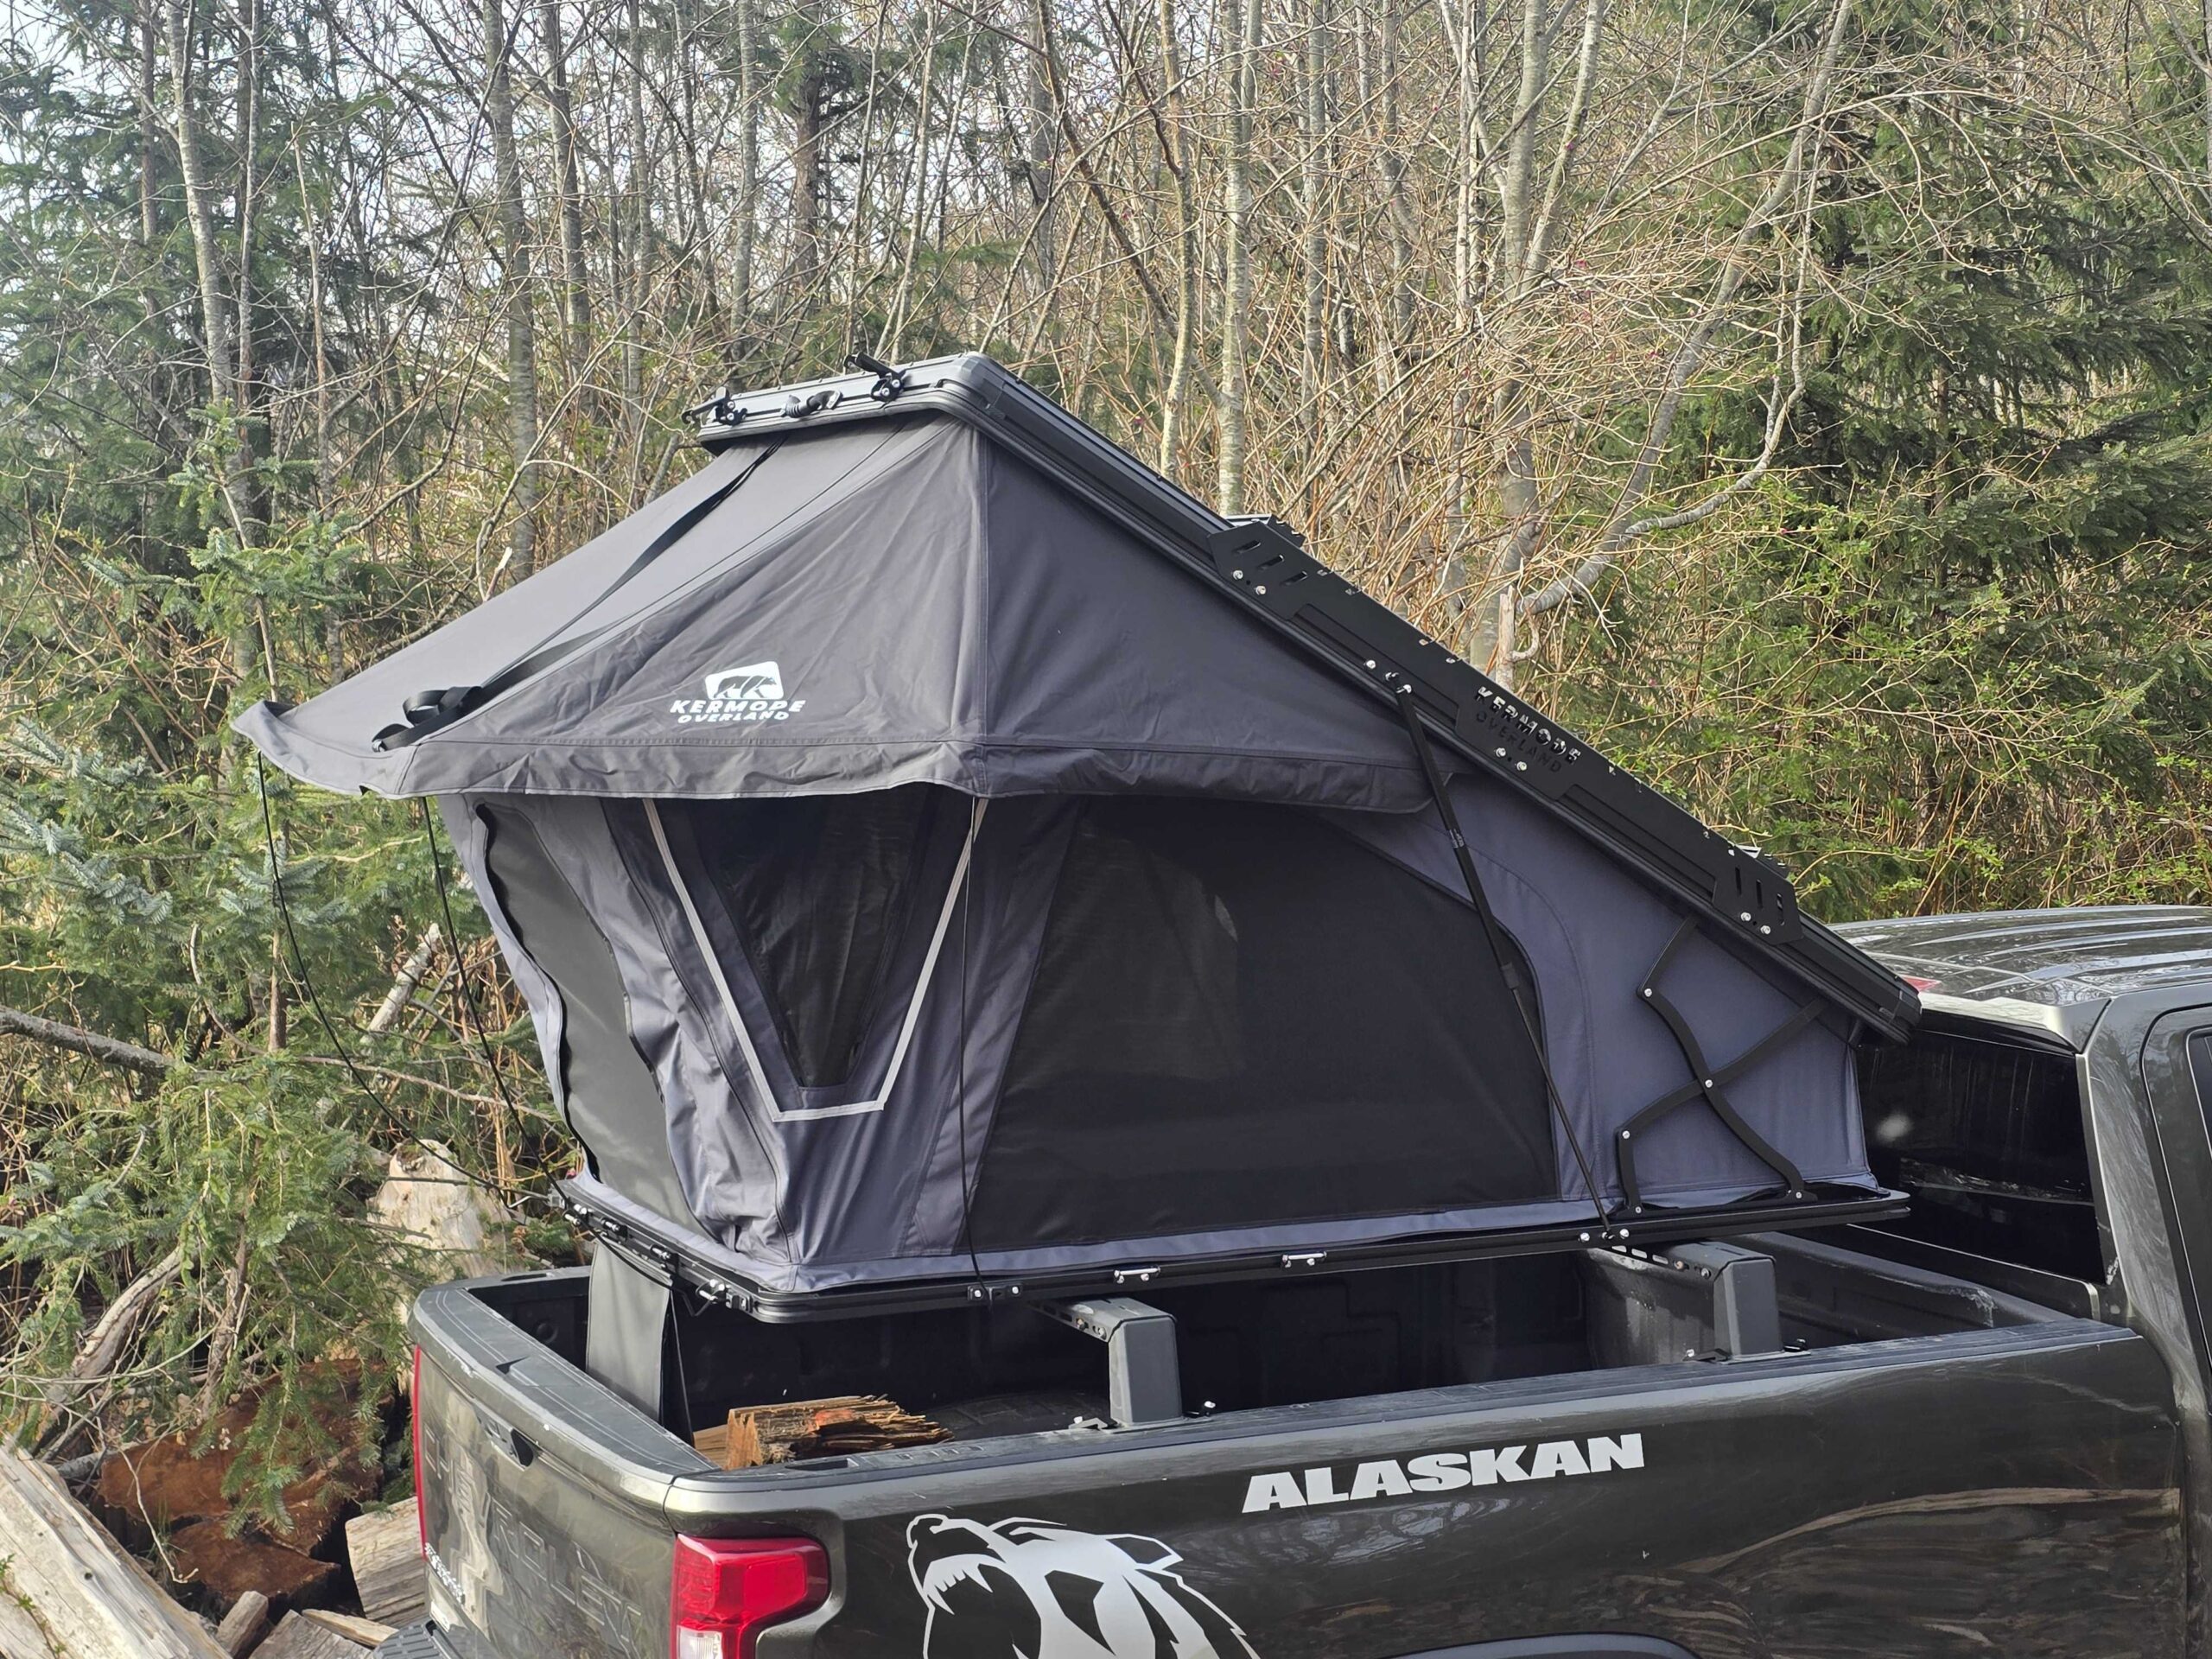
Nothing dampens the excitement of arriving at camp like spending the next 30 minutes digging through bins, untangling gear, or realizing your sleeping bag is buried beneath your camp kitchen. Whether you’re exploring the rugged backroads of British Columbia, heading into the Alberta Rockies, or escaping for a weekend in Ontario’s cottage country, how you pack your rooftop tent has a direct impact on how quickly—and how enjoyably—you settle into camp.
Experienced overlanders know that a fast camp setup doesn’t begin at the campsite. It begins in your driveway before you leave home. Developing an organized packing system saves time, reduces stress, protects your equipment, and helps ensure you don’t forget the essentials.
This guide shares practical, experience-based advice on packing your rooftop tent efficiently, organizing your vehicle, and creating a repeatable system that makes every camping trip smoother. Whether you’re new to rooftop tents or refining your setup after years on the trail, these tips will help you maximize your time outdoors.
Why Efficient Rooftop Tent Packing Matters
Packing your rooftop tent isn’t simply about fitting everything inside. It’s about creating an organized system that allows you to arrive, deploy your tent, and start enjoying camp with minimal effort.
An efficient packing strategy offers several advantages:
- Faster campsite setup and teardown
- Better protection for expensive camping gear
- Less frustration searching for equipment
- Reduced wear on your rooftop tent
- Better vehicle weight distribution
- Easier preparation for your next adventure
The more frequently you camp, the more valuable an organized system becomes. Saving even 15 minutes during setup and pack-up can add hours of extra relaxation over an entire camping season.
Start with a Consistent Packing System
One of the biggest differences between experienced overlanders and first-time campers is consistency.
Rather than packing differently for every trip, establish permanent storage locations for your equipment. Once every item has a designated home, packing becomes nearly automatic.
Create Dedicated Storage Zones
Divide your equipment into functional categories.
| Zone | Typical Items |
| Sleeping | Sleeping bags, pillows, blankets |
| Kitchen | Stove, cookware, utensils, food |
| Recovery | Recovery straps, shackles, air compressor |
| Shelter | Awning accessories, chairs, tables |
| Personal | Clothing, toiletries, electronics |
Keeping similar equipment together minimizes time spent searching once you reach camp.
Understand What Your Rooftop Tent Can Store
Not all rooftop tents are designed to close with the same amount of gear inside.
Understanding your tent’s storage capacity helps prevent damage while reducing setup time.
Hard Shell Rooftop Tents
Many hard shell rooftop tents allow campers to leave lightweight bedding inside between trips.
Typically suitable for:
- Sleeping bags
- Pillows
- Lightweight blankets
- Thin mattress toppers
Because of their rigid design, hard shell tents often deploy and close more quickly.
Advantages
- Faster setup
- Better weather protection
- Easier packing
- Less fabric management
Soft Shell Rooftop Tents
Soft shell tents generally require more careful packing.
When closing the tent:
- Distribute bedding evenly
- Avoid bulky items near hinges
- Keep fabric tucked inside
- Never force the cover closed
Proper packing extends the life of the fabric, zippers, and weather seals.
Leave Your Bedding Inside Whenever Possible
One of the simplest ways to reduce setup time is keeping your sleeping system inside the tent.
If your rooftop tent allows it, leave:
- Sleeping bags
- Pillows
- Fitted sheets
- Lightweight blankets
This eliminates one of the most time-consuming parts of setting up camp.
Before every trip, ensure the tent closes comfortably without excessive pressure. If you have to force the shell shut, remove some items instead.
Pack Gear in the Order You’ll Use It
Think about your arrival at camp.
What do you need first?
What can wait?
Many campers unintentionally bury frequently used equipment beneath less important items.
A better approach is organizing gear according to your campsite workflow.
First Items You’ll Need
- Flashlight
- Headlamp
- Gloves
- Levelling blocks
- Wheel chocks
Next
- Rooftop tent ladder
- Camp chairs
- Awning
After That
- Cooking equipment
- Food storage
- Cooler
Last
- Clothing
- Extra supplies
- Spare gear
This sequence dramatically reduces unnecessary unpacking.
Use Soft Storage Instead of Hard Containers
Rigid storage bins are excellent for truck beds and drawer systems, but inside a rooftop tent they often waste valuable space.
Packing cubes and soft storage bags compress easily and conform to the available room.
Benefits include:
- Better space utilization
- Easier organization
- Less movement during travel
- Faster access to clothing
Colour-coded packing cubes also make it much easier to find gear after dark.
Keep Moisture Under Control
Canadian weather can be unpredictable.
Morning dew, coastal humidity, and overnight condensation can leave your rooftop tent damp, even without rain.
Before packing:
- Shake off excess moisture
- Open windows for ventilation
- Wipe down wet surfaces if necessary
- Allow bedding to dry whenever possible
If you must pack a wet tent due to weather, reopen it at home as soon as possible to dry thoroughly. This helps prevent mould, mildew, and lingering odours.
Balance Your Vehicle’s Load
One common mistake is loading too much weight on the roof.
While rooftop tents are designed for roof-mounted use, additional heavy equipment should generally remain lower in the vehicle.
Store heavier items such as:
- Recovery gear
- Water containers
- Tools
- Coolers
inside the truck bed, cargo area, or drawer system whenever practical.
Keeping weight lower improves:
- Vehicle stability
- Fuel efficiency
- Handling on rough terrain
- Overall driving comfort
Organize Your Campsite by Activity
Instead of packing by item size, organize by purpose.
Sleeping Zone
- Bedding
- Pillows
- Reading light
- Charging cables
Cooking Zone
- Stove
- Fuel
- Cookware
- Coffee equipment
- Food supplies
Recovery Zone
- Recovery boards
- Recovery straps
- Air compressor
- Tire repair kit
Relaxation Zone
- Chairs
- Table
- Lantern
- Fire pit accessories
Grouping equipment this way makes setup far more intuitive.
Build a Repeatable Camp Setup Routine
Experienced overlanders don’t reinvent their process every trip.
Instead, they follow the same routine consistently.
A typical workflow might look like this:
- Park on level ground.
- Deploy levelling blocks if needed.
- Open the rooftop tent.
- Extend and secure the ladder.
- Deploy the awning.
- Set up chairs and table.
- Prepare the cooking area.
- Connect camp lighting.
Repeating this routine helps you become naturally faster over time.
Don’t Forget Small Essentials
It’s often the smallest items that delay camp setup.
Keep these easy to reach:
- Multi-tool
- Tire pressure gauge
- Flashlight
- Headlamp
- Rain jacket
- First aid kit
- Work gloves
- Battery bank
Store these items in a dedicated quick-access compartment rather than burying them beneath other gear.
Common Packing Mistakes to Avoid
Even experienced campers occasionally make these mistakes.
Packing Too Much
Ask yourself after every trip:
“Did I actually use this?”
If not, consider leaving it at home next time.
Less clutter means faster setup.
Closing the Tent While Wet
Packing away moisture encourages mould growth and can shorten the lifespan of your tent.
Whenever possible, dry your tent before storing it.
Poor Weight Distribution
Heavy equipment stacked high affects handling, especially on rough forest service roads.
Balance the load carefully and keep the centre of gravity as low as possible.
Leaving Loose Items Inside
Objects that shift during travel can damage fabric, mosquito screens, or internal components.
Use storage pouches or packing cubes to keep everything secure.
Forgetting a Departure Checklist
A simple checklist prevents costly mistakes.
Before driving away, confirm:
- Tent fully latched
- Ladder secured
- Windows zipped closed
- Awning packed
- Recovery gear loaded
- Water topped up
- Cooler secured
Experienced overlanders still rely on checklists because they work.
Real-World Scenario
Imagine arriving at a remote lakeside campsite after an eight-hour drive through British Columbia.
Because your equipment is organized:
- The vehicle is level in under two minutes.
- Your rooftop tent is deployed within five minutes.
- Bedding is already in place.
- Camp chairs are immediately accessible.
- Dinner is cooking while neighbouring campers are still unpacking storage bins.
That efficiency isn’t luck—it comes from thoughtful preparation before the trip even begins.
Product Categories That Can Improve Organization
The right equipment can make packing simpler while improving your overall camping experience.
Consider these product categories available from Kermode Overland:
Rooftop Tents
Designed to provide comfortable, elevated sleeping while enabling fast deployment at camp.
Bed Racks
Create additional storage flexibility while securely supporting rooftop tents on pickup trucks.
Roof Platforms
Offer versatile mounting solutions for lightweight accessories and camping equipment.
Crossbars
Provide the foundation for mounting rooftop tents and compatible accessories.
Awnings
Quickly expand your outdoor living space for shade or shelter during changing weather.
Recovery Gear
Essential for self-recovery during off-road travel and remote adventures.
Camping Accessories
Storage bags, camp lighting, tables, chairs, and organization solutions help streamline every trip.
Choose accessories that support your camping style rather than simply adding more equipment.
Expert Tips from Experienced Overlanders
After years of travelling Canada’s backroads, these habits consistently save time:
- Pack exactly the same way every trip.
- Label storage containers clearly.
- Store sleeping gear inside the rooftop tent when appropriate.
- Keep recovery gear separate from camping gear.
- Review your packing list after every adventure.
- Remove equipment you never use.
- Inspect your rooftop tent before every departure.
- Dry your tent thoroughly before long-term storage.
Consistency is often more valuable than buying additional gear.
Frequently Asked Questions
Can I leave bedding inside my rooftop tent?
Many rooftop tents allow lightweight bedding to remain inside, but always follow your manufacturer’s recommendations to ensure proper closing and avoid damaging the tent.
What’s the fastest way to set up a rooftop tent?
Use a consistent packing system, keep bedding inside when possible, organize equipment by use, and follow the same campsite setup routine every trip.
Should heavy gear be stored on the roof?
Generally, no. Heavy equipment should be stored lower in the vehicle whenever practical to improve stability and handling.
How do I prevent mould in my rooftop tent?
Allow the tent and bedding to dry completely before long-term storage. If you pack away a wet tent, reopen it as soon as possible to air it out.
Are packing cubes worth using for overlanding?
Yes. Packing cubes improve organization, maximize available space, and make it easier to locate clothing and personal items.
How can I make camp teardown faster?
Pack equipment in the same order every time, assign permanent storage locations, and use a departure checklist to ensure nothing is forgotten.
Conclusion
Learning how to pack your rooftop tent efficiently is one of the easiest ways to improve every overlanding trip. A well-organized system reduces setup time, protects your gear, and allows you to spend more time enjoying Canada’s incredible outdoors instead of searching through storage bins.
Whether you’re planning weekend camping trips or extended backcountry adventures, thoughtful packing habits make a noticeable difference. Pairing an organized packing system with quality overlanding equipment helps create a smoother, more enjoyable camping experience season after season.
If you’re looking for premium rooftop tents, bed racks, roof platforms, crossbars, awnings, recovery gear, or other camping accessories, visit Kermode Overland or contact the team for expert advice. They’ll help you build a setup that’s ready for wherever Canada’s trails take you next.